Aussies living abroad invariably start getting a bit antsy around Easter time, yearning for a good hot cross bun — soft and pillowy, and ubiquitous in any supermarket or chain bakery any time after New Year.
.
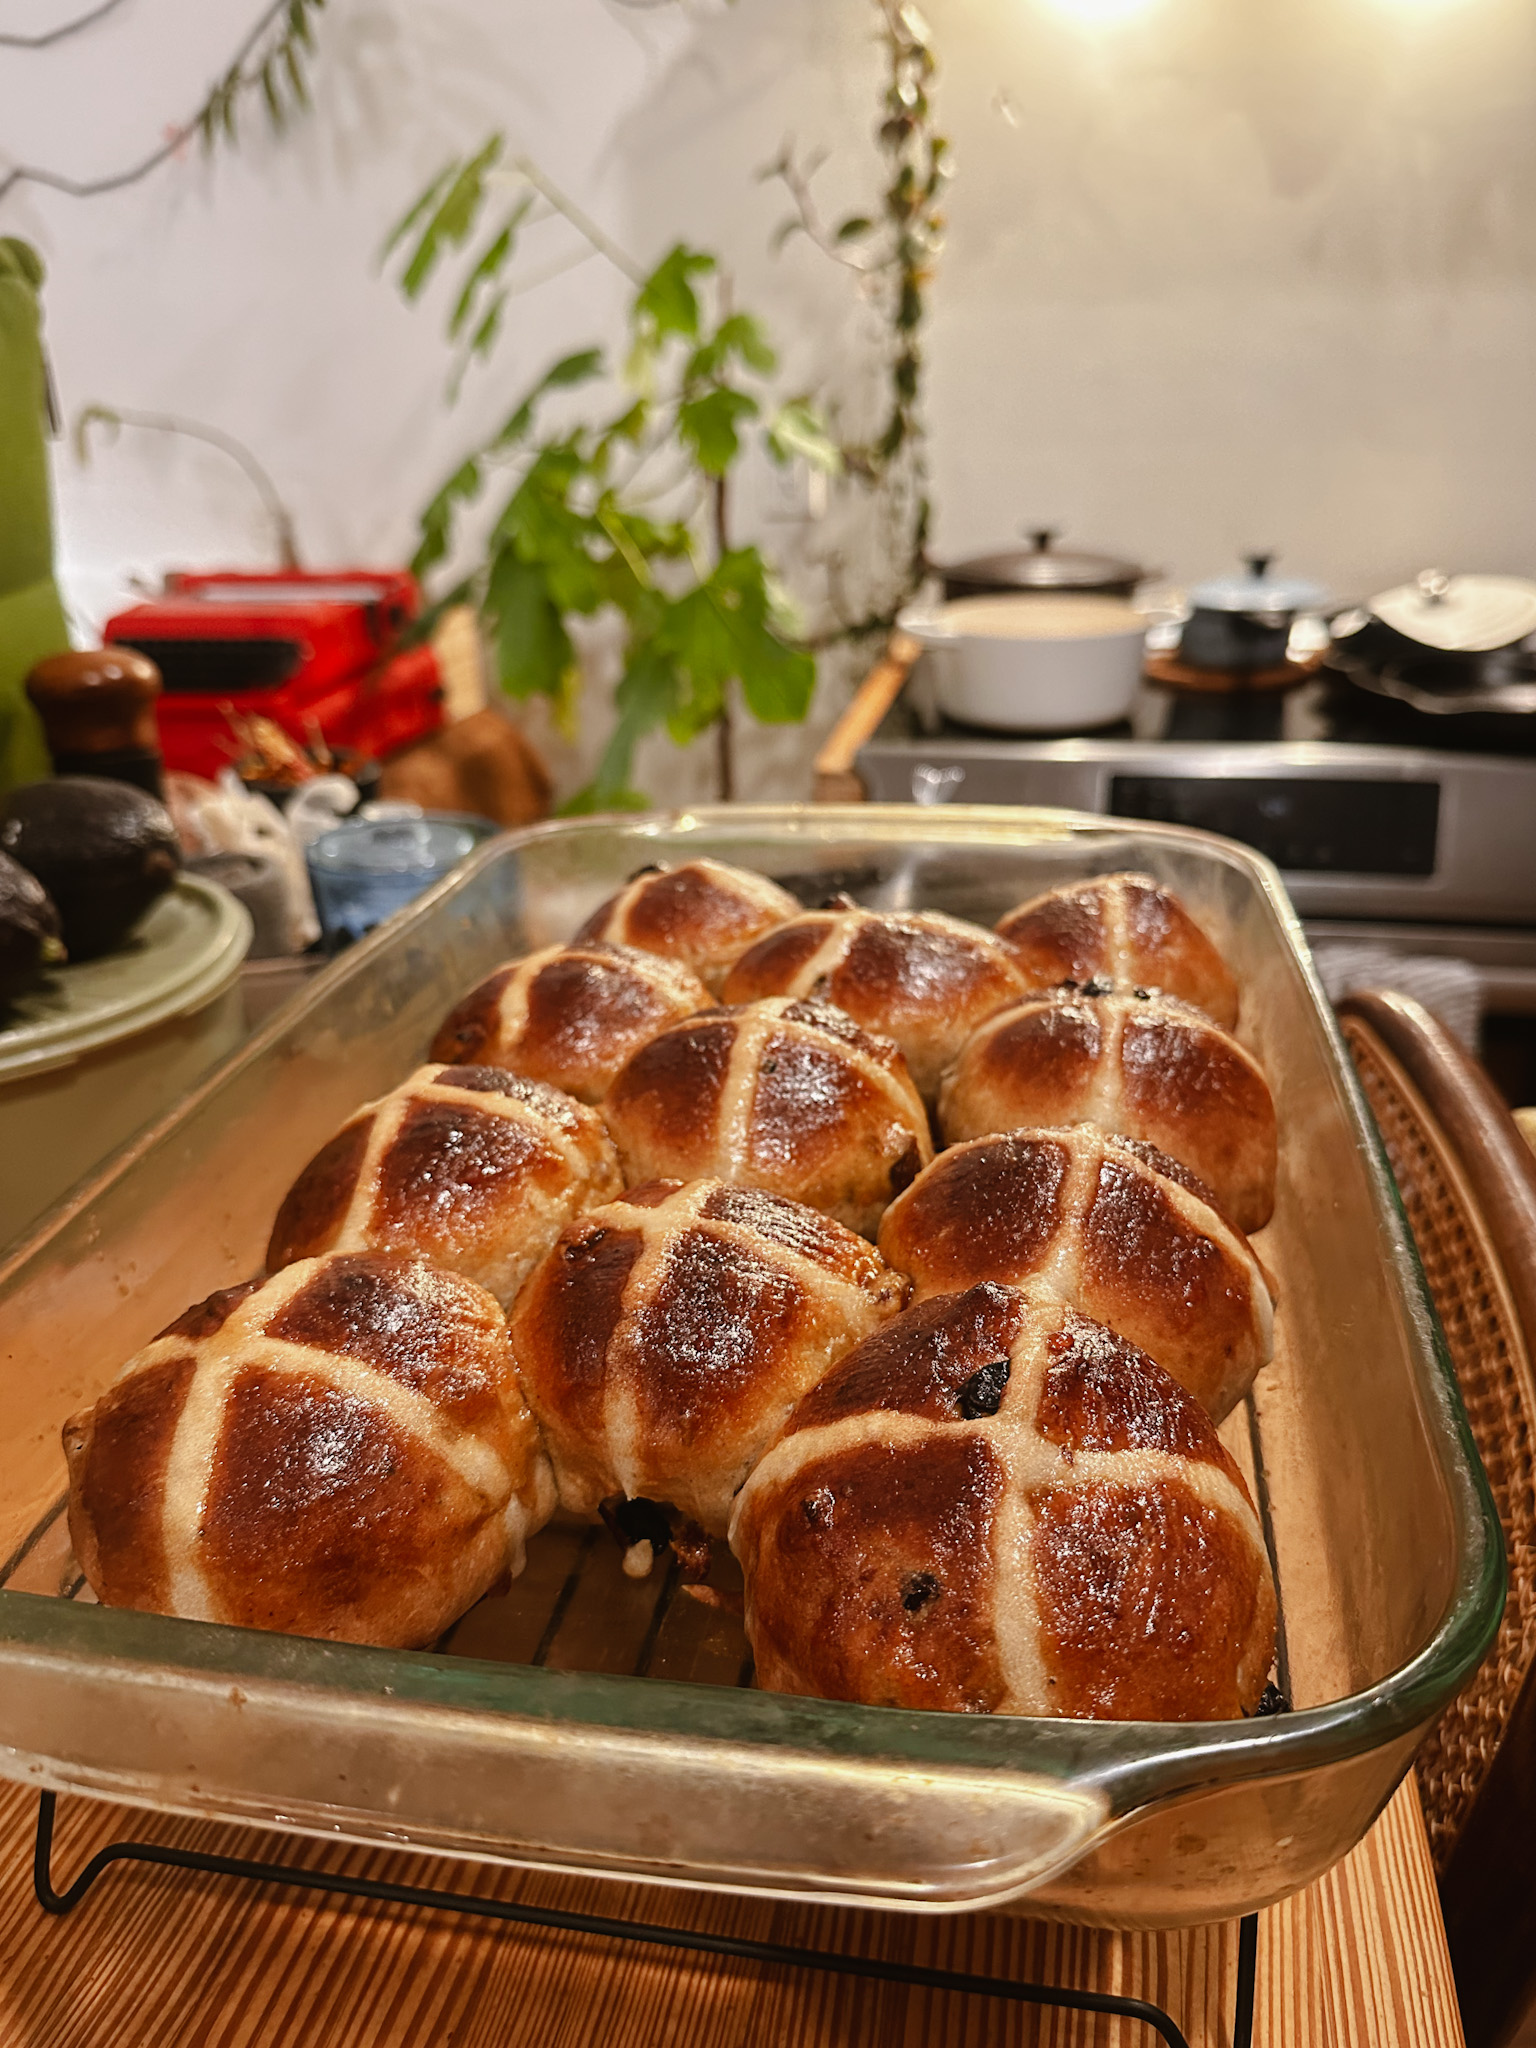
It’s becoming easier to find HCBs in NYC, but even the best bakeries fall into the trap of making the cross out of icing/frosting — a HUGE faux pas for those in the know. (The cross should be made from a simple flour+water paste; icing is much too sweet on an already sweet bun, and makes it impossible to toast or reheat your HCB!)
.
And so it inevitably falls on us to DIY HCB. It’s been TEN YEARS since I posted my own recipe for hot cross buns, and while that recipe has seen me (and many friends) through several Easters abroad, I have to admit those buns are never as soft and pillowy as the Platonic ideal.
.
Well, I’ve finally cracked it! And the answer is: hot-water roux — Tangzhong — the same thing that makes Japanese milk bread so soft and cloud-like.
This recipe is a highly improvised hybrid of The Boy Who Bakes’s Tangzhong-based recipe and my own from 2014, plus some learnt-from-past-errors improv.
Makes 12 (or 11, if you’re as carefree with numbers as I am).
Gather:
Your stand mixer + dough hook attachment
For the Tangzhong:
185 mls milk
35 g bread flour*
To wake up the yeast:
85 mls milk
20g caster/white sugar
7 grams dry yeast
For the rest of the dough ingredients:
465 g bread flour
50 g caster/white sugar
1/2 tsp salt
1 tsp cinnamon
1/2 tsp allspice
1/2 tsp ground cloves
1/2 tsp ground cardamom
1/4 tsp nutmeg
1/4 tsp ground ginger
50 g butter (cold is fine)
2 cups dried fruit**
2 eggs, lightly whisked
For the pre-bake egg wash:
1 egg
15 mls milk
To finish:
60 g plain (or bread) flour
60 mls water (room temp.)
For the post-bake glaze:
About 4 tbsp chunk-free marmalade (or other clear jam)
About 2 tbsp boiling water
Then:
To make the Tangzhong:
1. Heat 185 mls of the milk and 35 g bread flour in a small saucepan, whisking gently/constantly until it forms a thick paste.
2. Immediately remove from the heat, decant the roux into a small bowl and set it aside to cool while you handle the other steps.
To wake up the yeast:
3. In a small saucepan (save the washing up and use the same one), warm the remaining 85 mls milk and 20 g sugar to a medium heat — you should still be able to comfortably dip your finger in.
4. Remove from the heat, and whisk in the dried yeast. (If the milk got too hot, leave it to cool to a comfortable temperature first, otherwise you might scald/kill the yeast.)
5. Set aside for at least 10 minutes — the yeast should form a foamy/fluffy layer on top of the milk.
For the main dough:
6. Add the main dry ingredients — 465 g flour, 50 g sugar, 1/2 tsp salt, all the spices — in the bowl of your stand mixer, and use a fork to evenly distribute all the ingredients. (No need to sift everything.)
7. Dice the butter, then rub it into the dry ingredients with your fingertips, until there are no noticeable chunks left.
8. Add the dried fruit, the frothy milk mixture, the tangzhong and the two eggs, then turn on your stand mixer with the dough hook attached.
9. Mix for about 5 minutes, until the dough is smooth and elastic. If it’s too wet and sticking to the walls of the bowl, you can add a touch more flour (just a pinch at a time); if it’s too dry, add a tiny bit more milk. You should end up with a cohesive but slightly sagging ball of dough that’s a bit shiny/wet to the touch (rather than covered in a layer of flour).
10. Transfer the dough to a large, well oiled (with vegetable/olive oil) bowl, and rub a little extra oil over the entire surface of the dough.
11. Cover the bowl with cling wrap and leave it somewhere warm (or at least not cold) to prove for about 1 hour, or until the dough has roughly doubled in size.
12. Once the dough has proved, turn on the oven to 390ºF/200°C, and butter the bottom and sides of a large, high-edged baking tray (or a couple of 2L Pyrex baking dishes).
13. Punch the dough (don’t be shy!) a couple of times, then smooth it back into a ball again and give it one or two kneads.
14. Using a knife or bench scraper, cut the dough into 12 equal portions (see my note above re: casual maths).
15. To shape: take one portion and press it into a rough square, then fold each corner into the centre. Turn it over, then roll it against your bench top under a cupped hand. The Boy Who Bakes has a very helpful gif demonstration of this step!
16. Repeat for each portion, placing each one in your prepped baking dish with about a 1cm gap between each bun (they’ll spread! And rise! Twice!)
17. Cover your baking dish, and return to a warm place to let the formed dough rise again for about 20 minutes — on top of your now-preheating oven would be the best spot.
After the second rise:
18. In one small bowl, whisk together 1 egg + about a tablespoon of milk.
19. Gently brush this egg wash over the top of the buns, making sure to reach any exposed sides (if they’re not pressing up against the wall of your baking dish).
20. In another small bowl, whisk the final 60 g flour + 60 ml water using a fork — you want a no-lumps paste that isn’t too runny, and that you can squeeze out of a piping bag in a straight(ish) line. I usually need to add a couple more pinches of flour and a sprinkle of water until it feels right.
21. Transfer the flour paste to a piping bag with a small nozzle (or a ziplock bag, then cut the tip off) and pipe lines all the way across — and down — the rows of buns. (It would be folly to pipe each cross separately!) It’s okay if the lines are a bit rustic — they’ll spread and soften slightly in the oven.
22. Bake at 390ºF/200°C for about 25 minutes, or until the buns are evenly golden brown on top, and sound hollow when you tap the tops.
23. Remove from the oven and leave the buns to cool for about 5 minutes — still in the baking dish, on a cooling rack.
24. In the meantime, mix the jam/marmalade and boiling water. (Remove any large chunks if needed.)
25. Brush the tops of the buns with jam, making sure it doesn’t pool in the corners (this can make the dough soggy). You can leave your HCBs in the baking dish now, or remove them and let them cool on a rack.
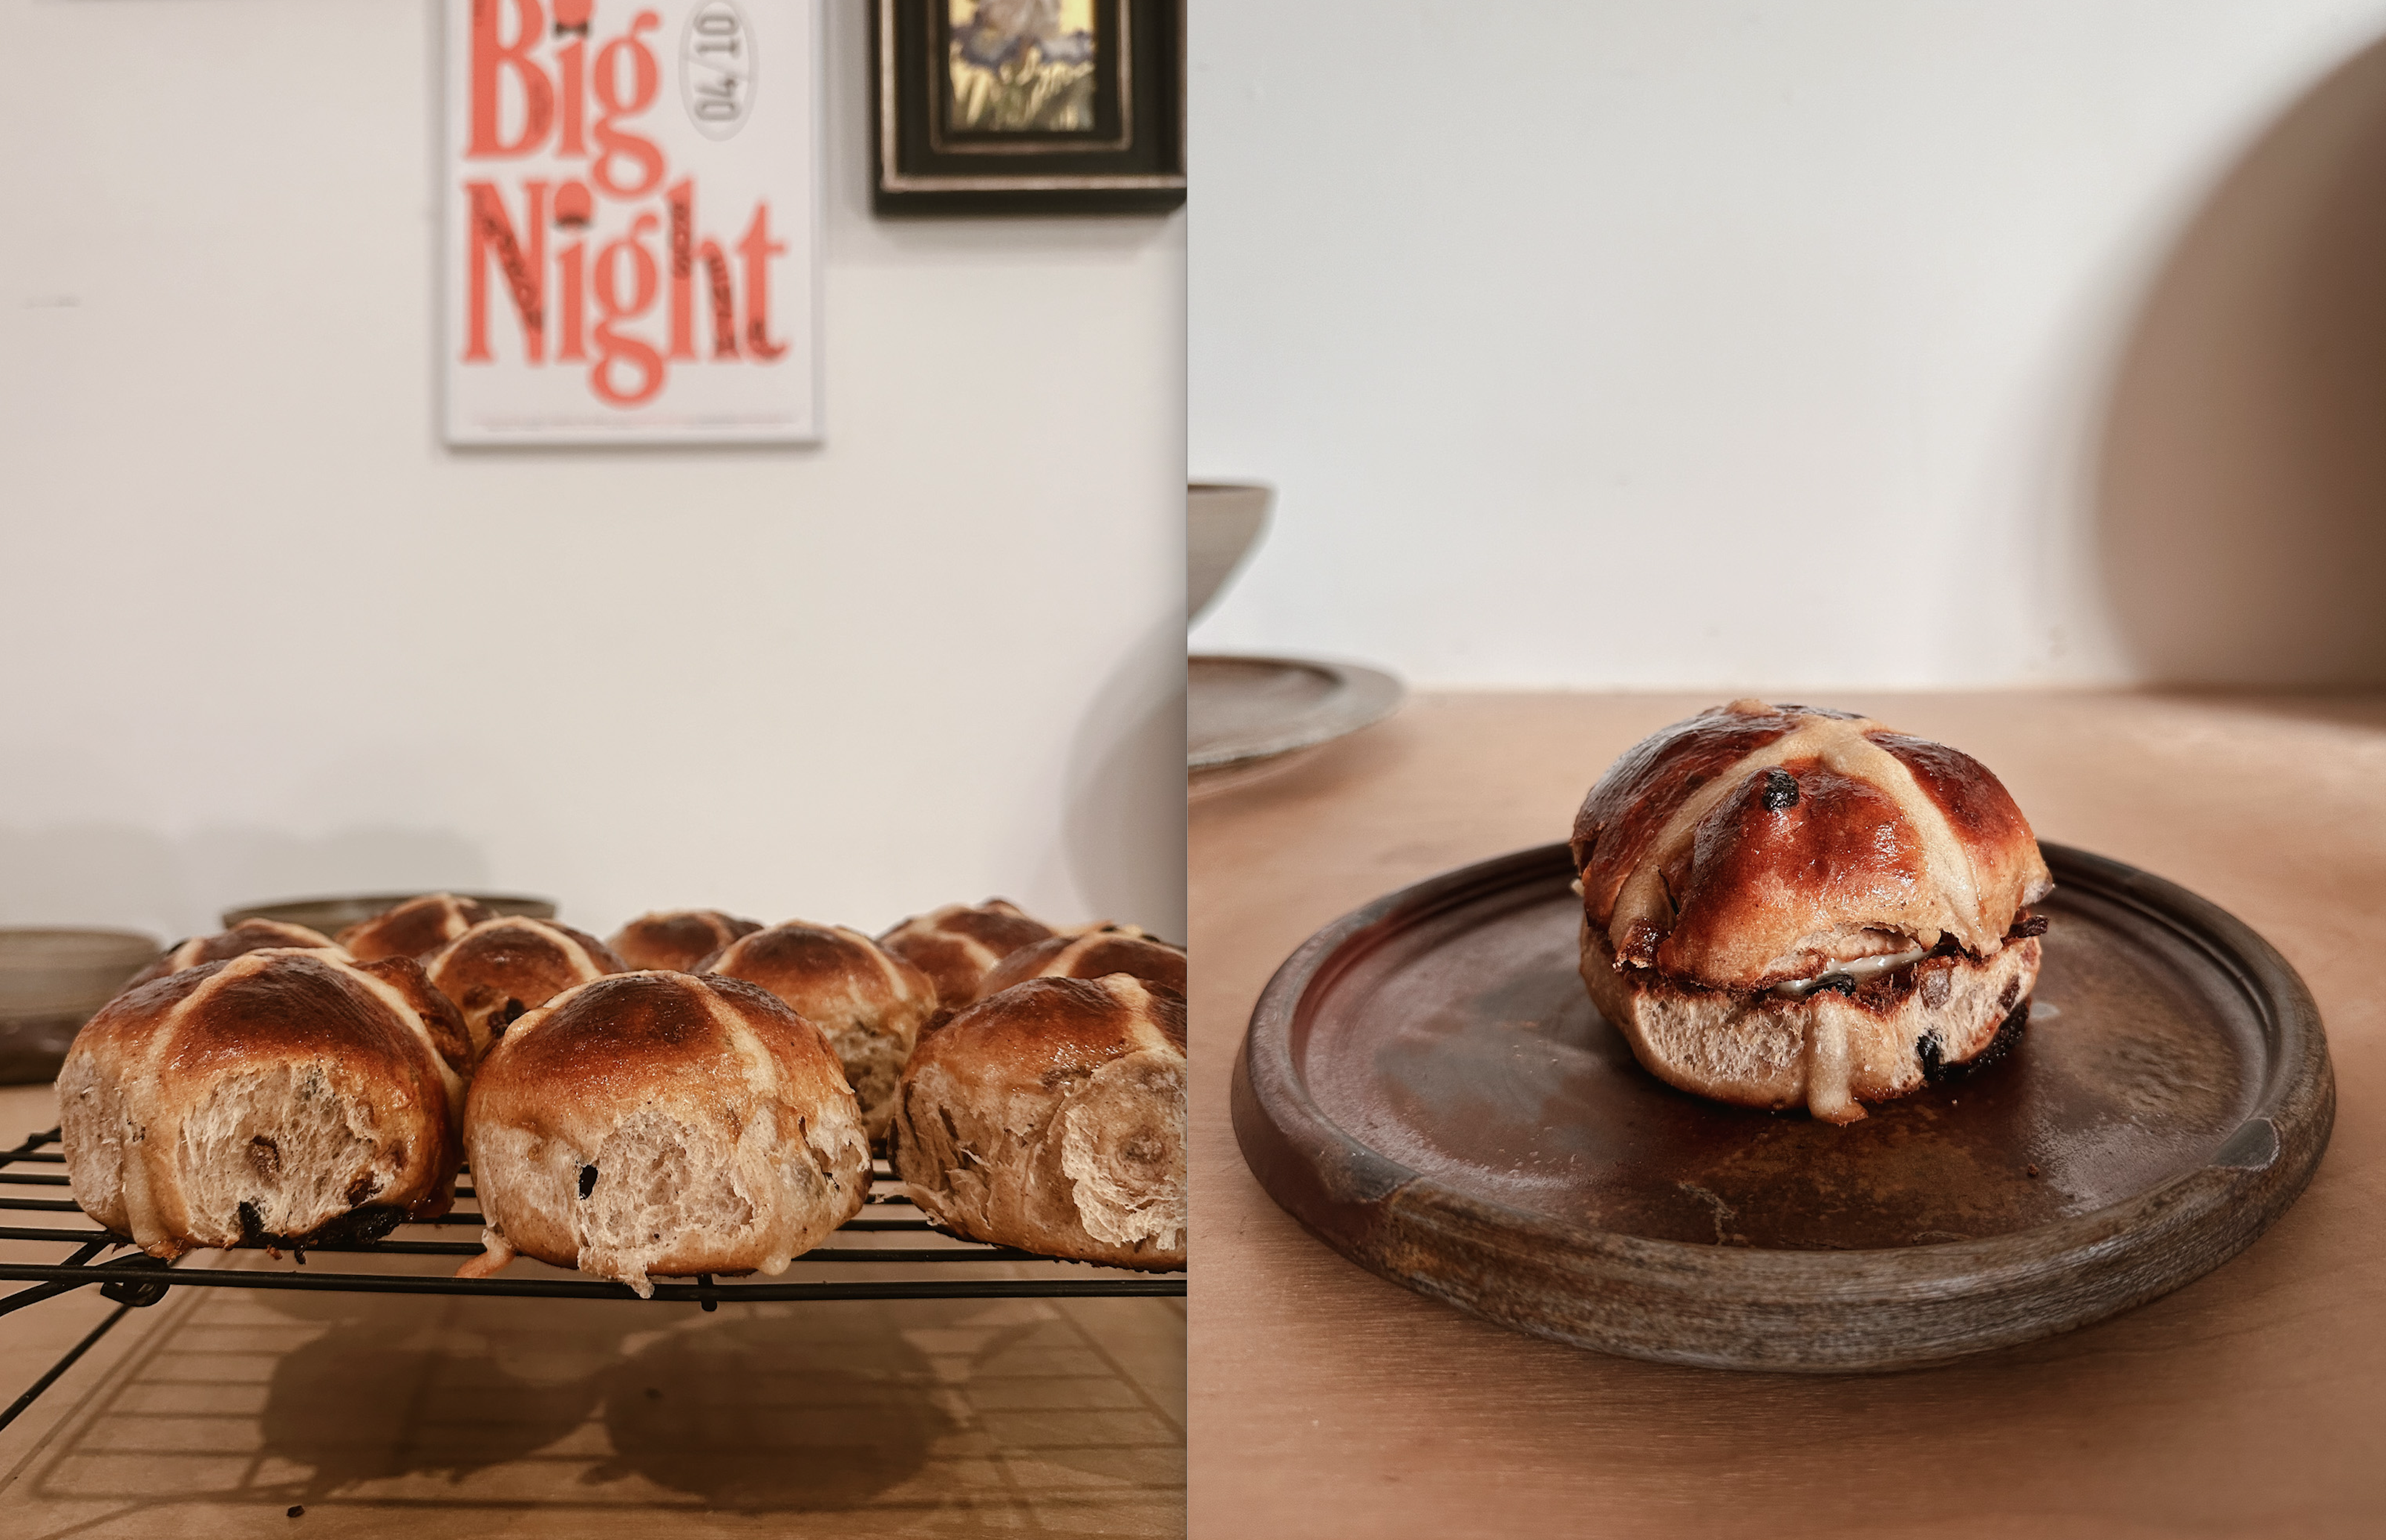
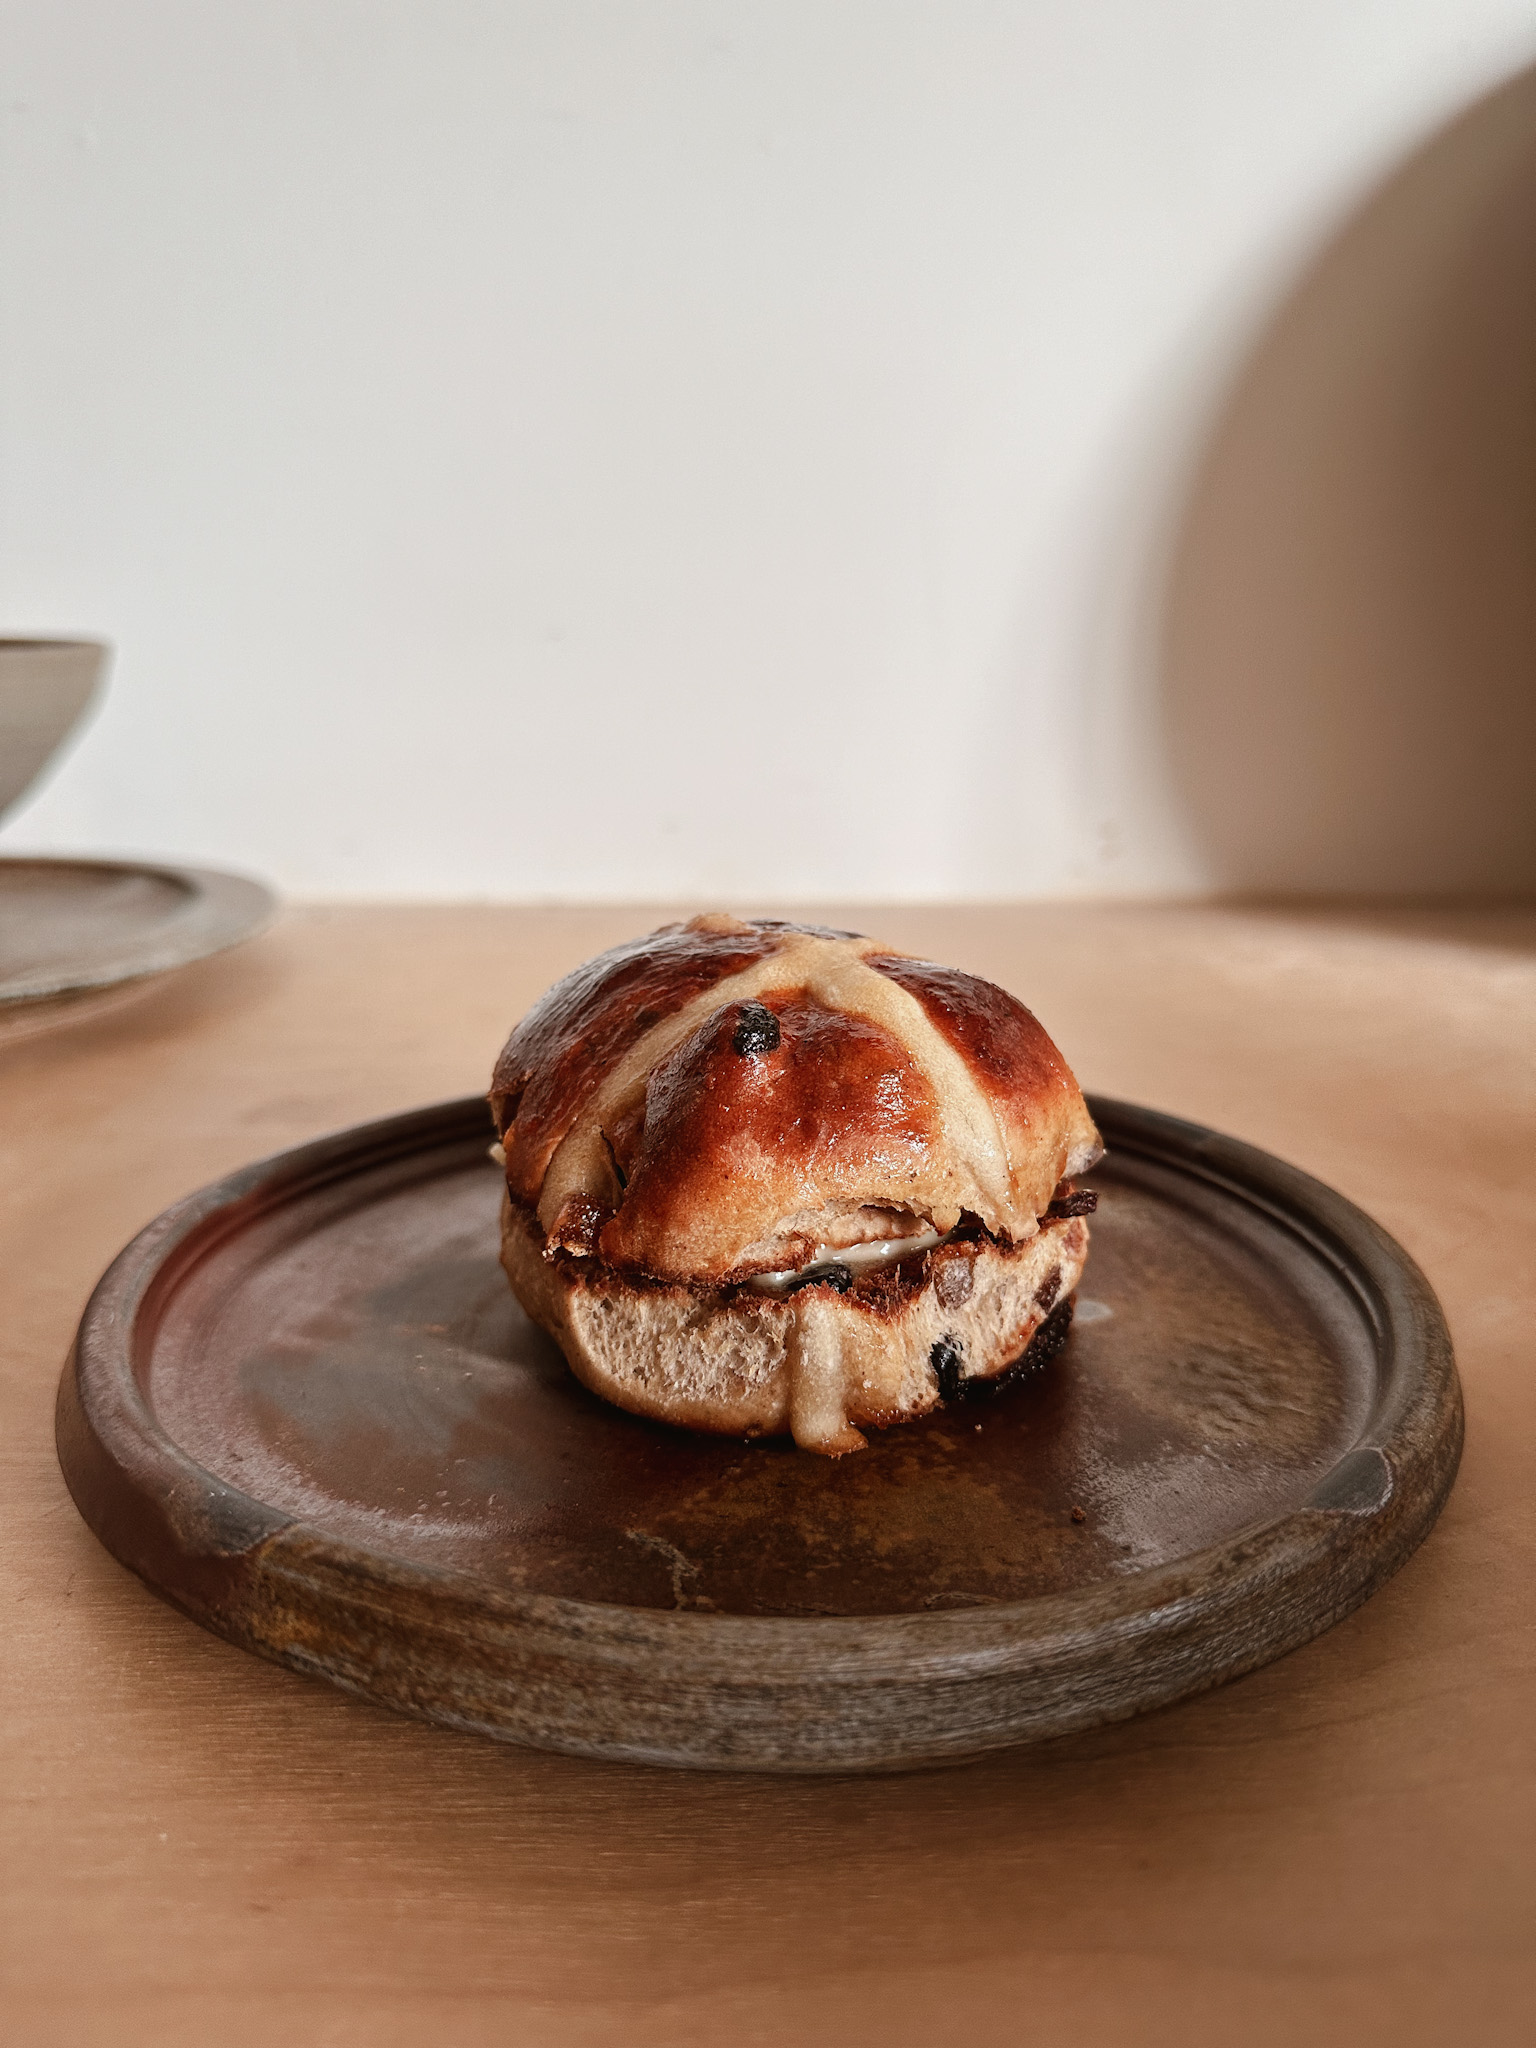
26. Serve warm, with lots of salted butter (see: tandsmør).
These HCBs keep for around 4 days in an airtight container. To reheat***: slice a bun laterally and pop it cut-side-up under the broiler (griller) then toast until golden brown. To recreate that ‘straight out of the oven’ HCB experience, pop your bun uncovered in the microwave, or wrap it in foil and reheat in a hot oven, letting the steam work to your advantage.
Notes:
*Bread flour (also called baker’s flour or strong flour) has more gluten than regular plain/AP flour, so the results are more elastic, and more gravity-defying). This is especially handy when your dough is full of rise-inhibiting fruits and spices.
**In Australia we’d use ‘mixed dried fruit’, a ready-made mix of sultanas, currants and candied citrus peel. This doesn’t exist in the US — here in New York, I’ve been using a very satisfactory mix of unsulphured dried apricots (chopped), dried tart cherries, and dried blueberries.
***This is a Very Important Thing. Hot cross buns should be eaten a) steaming, fluffy and soft when they’ve come straight out of the oven, or b) split then toasted for subsequent HCB sessions.