
An infinitely repeatable and reliably beautiful loaf of bread, with a stunning crispy crust and springy, bubbly crumb. Different each time, but always perfect.
And an easy guide to to creating, maintaining, hibernating and resurrecting the starter that gets it all started.

{ Based on my go-to recipe: Girl Meets Rye’s interpretation of the Tartine country loaf }
For the starter
(Girl Meets Rye has a wonderful treatise on this!)
Gather:
20 grams flour¹
20 grams water
Then:
- Put the flour and water in a medium-sized lidded jar, and mix well.
- Put the lid on the jar, and leave it in an out-of-the-way spot on your kitchen bench for 24 hours. If you want to speed up the process, you can do the ‘feedings’ every 12 hours for the first few days.
- Every 24 (or 12) hours, repeat this process: add equal weights of flour and water, stir well, put the lid on and leave it. Note that once you have about a cup of starter you don’t need much more, so you can scoop out some and throw it away before each feeding (or, even better, save it in a jar in the fridge and use it for another recipe).
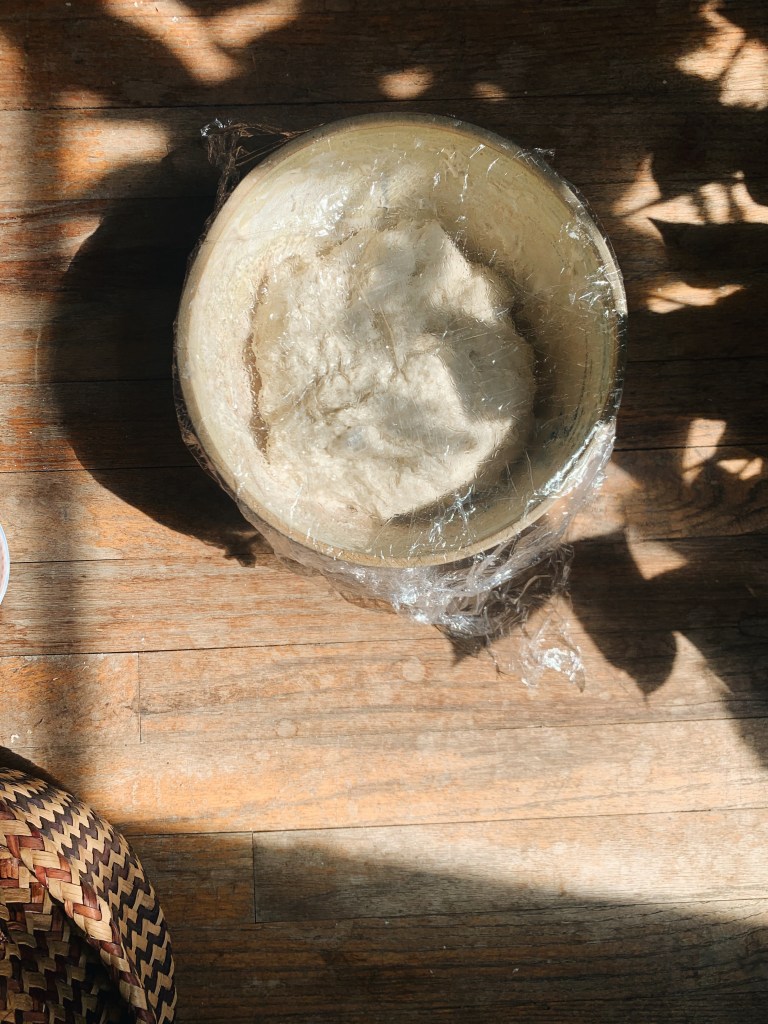
- By about day 10 (but probably after a week), your starter should be pretty active and bubbly! (These photos show my old-timer (~2-year-old) starter, but there won’t be much difference.)


Note: You can put your starter in stasis for months at a time. Just feed it, then pop it straight into the fridge. When you’re ready to fire it up again, scoop off the top layer and discard it — the starter underneath should be quite fresh-looking. Scoop out a nice big spoonful of that fresh starter into a clean jar, and start feeding it every 24 hours as usual. It should be ready to use again within a couple of days!
To make a loaf of bread
It will take around 36 hours (mostly hands-off waiting time) to make one loaf of bread following these instructions, so be sure to plan ahead. My suggested timing aligns easiest with human sleeping hours, so none of the active steps need to happen overnight.
Stage 1
Before you go to bed², to make the levain, gather:
50 grams of your starter (last fed 24 hours ago)
50 grams plain flour
50 grams wholemeal/whole-wheat flour
100 grams water
Then:
- Put everything into a large mixing bowl, and mix until fully incorporated.


- Cover the bowl with cling wrap (or a plastic showercap — you can reuse it next time, to avoid wasting plastic wrap)
- Leave this on the kitchen bench overnight.
Stage 2
The next morning, gather:
Your levain (it should be a bit bubbly/alive now)
450 g bread flour
50 g plain or wholewheat/wholemeal flour
330 g water
Then:
- Add the flour and water to your levain in the large bowl.
- Stir until there’s no dry flour left/everything is well combined.


- Cover the bowl with the cling wrap/haircap again and leave it somewhere warmish (in the sun or near a heater, if it’s a cold day) for 2 hours.
Stage 3
After 2 hours, gather:
14 g salt
Then:
- Add the salt to the dough, then *scrunch* the dough with your hands until all the salt feels dissolved/evenly distributed.
- Replace the covering, and return the bowl to its resting spot.
Stage 4
Every half hour, for the next 4 hours…
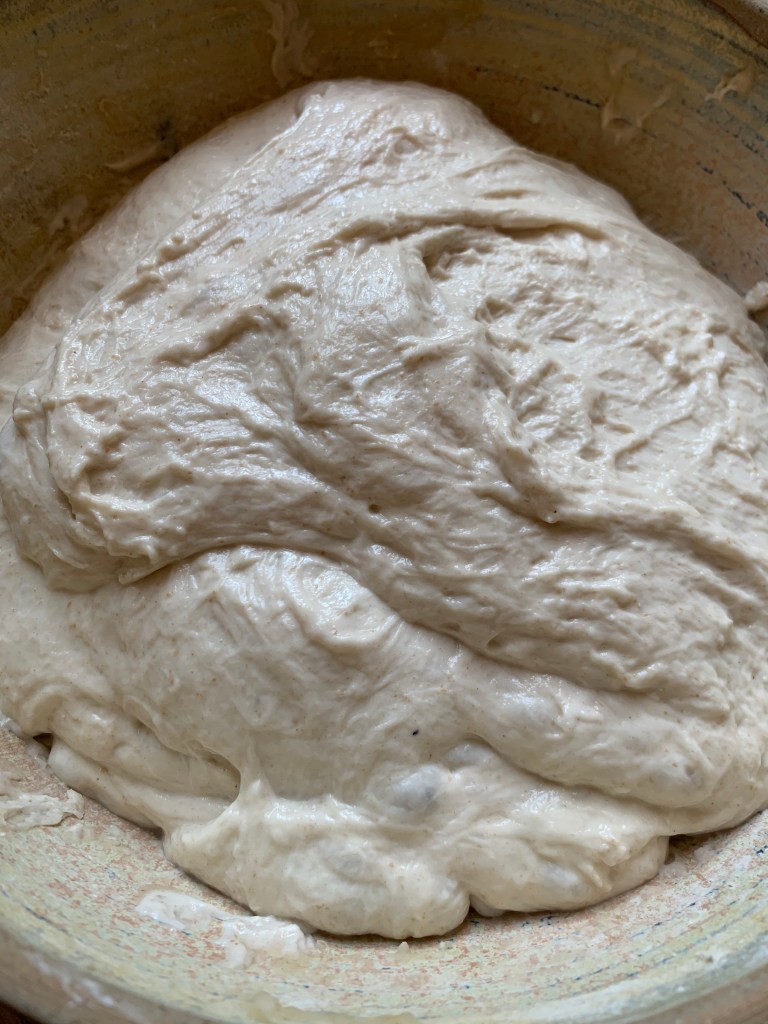
… remove the covering, dip your hand in a little water so the dough doesn’t stick, and ‘turn’ the dough. YouTube can demonstrate this better than I can explain it, but essentially you want to scoop your hand under the edge of the dough to the bottom of the bowl, lift up that section of dough, and fold it over to the opposite side of the bowl. Repeat until you’ve done this around the whole circumference of the bowl. Towards the end of the 4 hours you should have a smooth, stretchy blob that looks a little something like this:
Stage 5
When the 4 hours is up, after the last ‘turn’, gather:
A little plain flour, for dusting
A banneton or a large clean bowl
A clean linen or cotton tea towel
A bench scraper
A plastic bag (ideally a clean reused one)
Then:
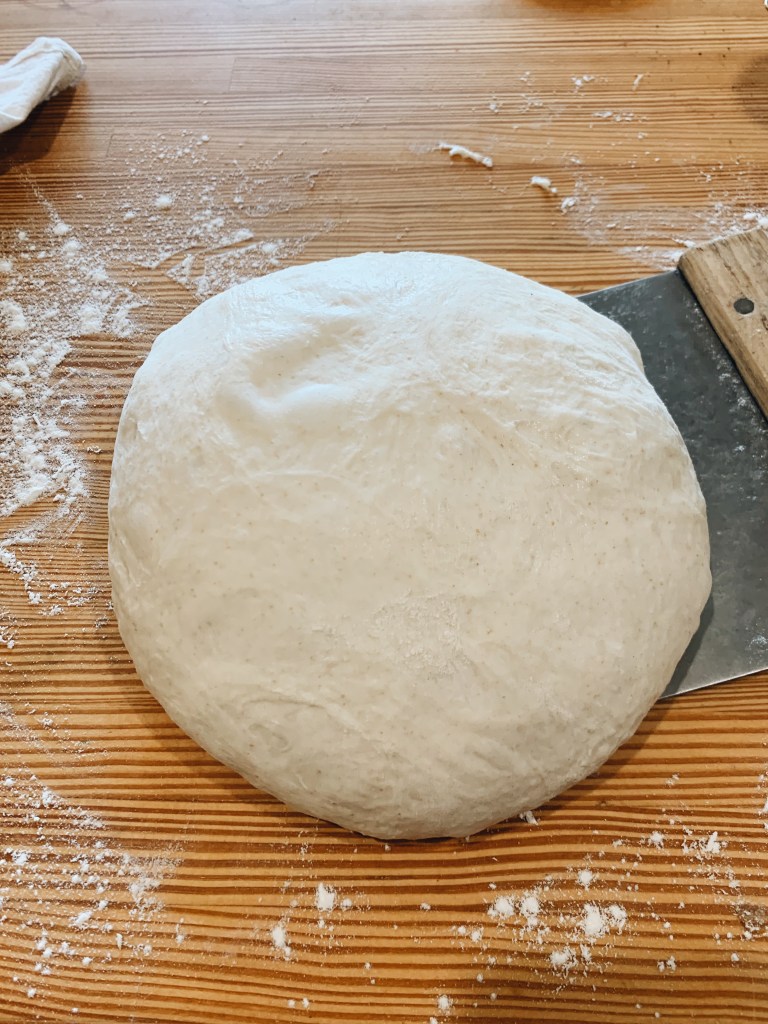
- Dust the benchtop with flour, and scoop out the dough onto it.
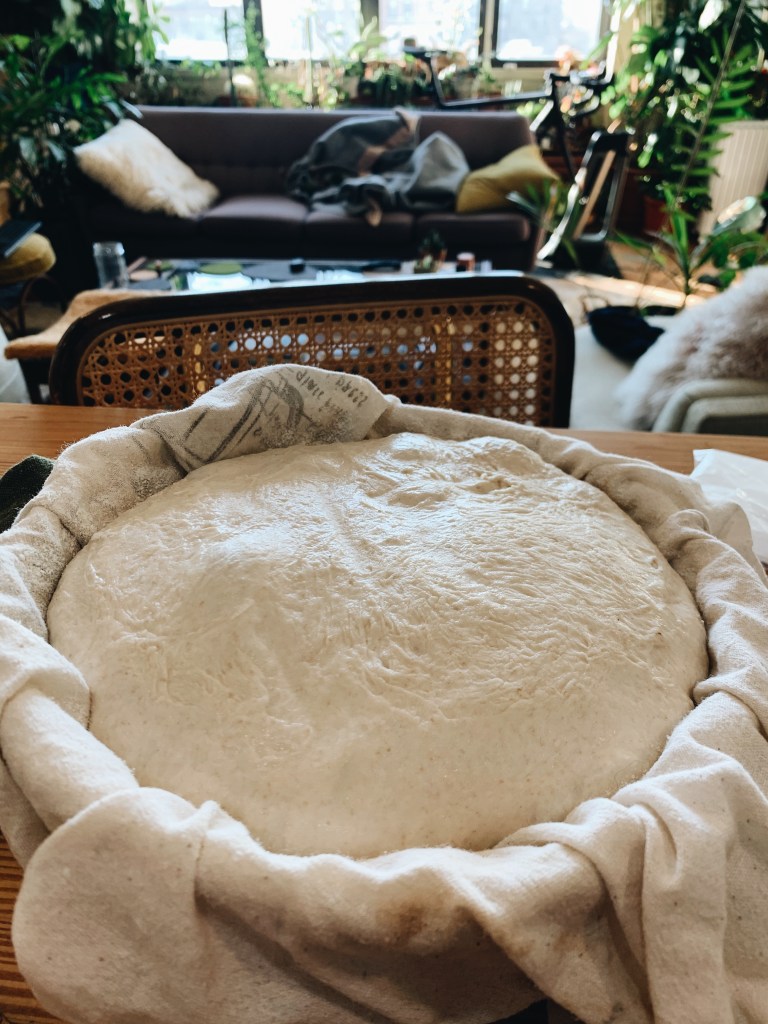
- Let the dough sit for a moment, as you line the banneton/bowl with the clean cloth, and then dust it with flour too.
- Using your bench scraper (or just your hands), fold the ‘corners’ of the dough up and into the centre (I’ve heard it described as if you were fastening a nappy/diaper), then flip it over — you should be looking at a smooth surface.
- Use your hands to shape the dough/tuck the bottom under/stretch the top surface so you have a nice tight round shape.
- Pick up the boule and invert it into the basket — you should have what will be the bottom of the loaf facing up (the smooth “top” of the loaf facing down).
- Loosely fold the ends of the cloth over the top of the dough, then put the whole thing in the plastic bag and tie up the opening — this will help keep the moisture in, when it goes into the fridge …
- … speaking of which, now you’ll put the whole lot into the fridge overnight. It should be mid-afternoon now, and you’ll be leaving it in there until the following morning at the earliest.³
Stage 6
The next morning, gather:
A dutch oven the same diameter as your banneton/bowl/dough
A baking tray
2 heatproof mats/trivets
Oven mitts or thick cotton tea towels⁴
A lamé or very sharp small knife
Then:
- Take the dough out of the fridge and let it sit in its bowl/banneton on the benchtop while the oven preheats.
(This will be the “bottom” of your loaf.) - Put your dutch oven (empty, with the lid on) on a baking tray (to avoid scorching the bottom of the loaf) on the middle shelf of your oven, and preheat the oven to 500ºF/260ºC. Set out your heat mats/trivets on the bench.
- When the oven comes to temperature, use your oven mitts or thick cotton towels to carefully extract the dutch oven and put it on a heat mat/trivet.
- Carefully remove the lid (be careful to set it down on the other trivet/mat) and, working quickly, flip the dough into the hot dutch oven. You should be looking at the top of the loaf.
- Grab your lamé and “score the dough in some divine manner” — this helps the steam escape and the bread rise evenly, but can also be beautifully decorative, so invite your creative self to participate here.

- Quickly replace the lid and put the dutch oven, now with the bread-to-be-inside, back in the oven.
- Bake for 15 minutes, then bring the temperature down to 480ºF/248ºC.
- Bake for another 15 minutes, then remove the lid.
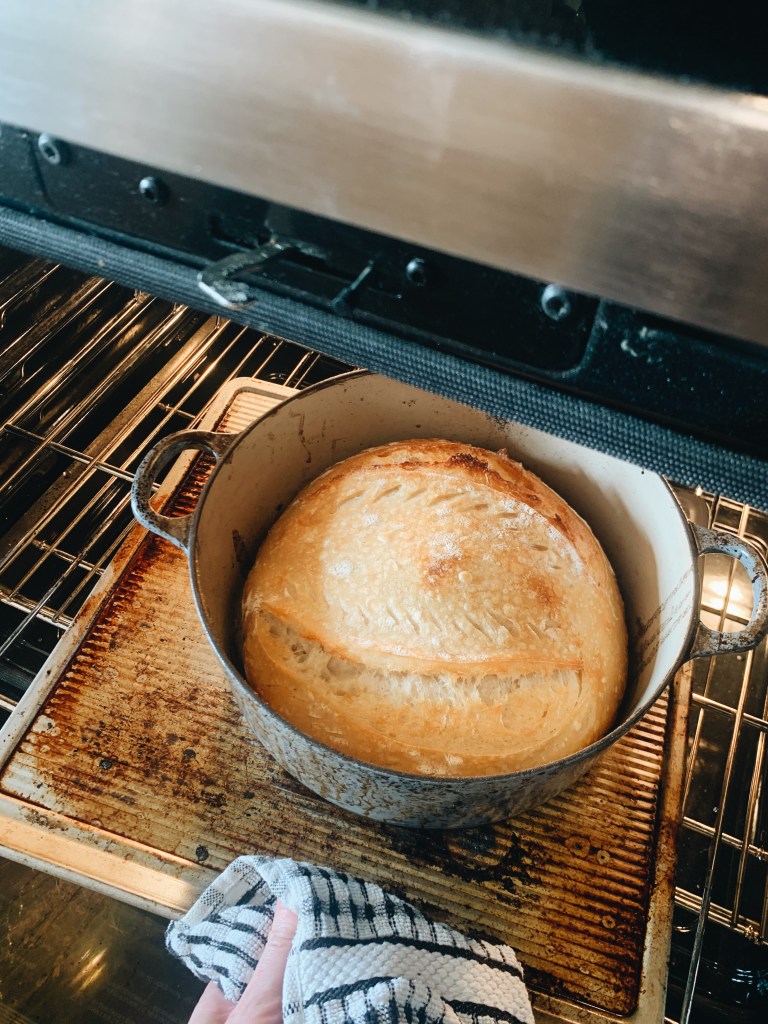
(I use this tray and dutch oven only to bake bread; as a result they have quite the patina.) - Continue baking at 480ºF/248ºC with the lid off, until the crust is as dark as you wish it to be — usually 5–10 minutes for me.
- When your bread has reached its full bread potential, carefully (still hot!) remove the dutch oven and immediately (using oven mitts/tea towels) flip the loaf out onto a cooling rack.

- Leave your bread to cool for an hour or two. As nice as hot-hot bread can be, it will have better structural integrity if you can let it sit for a while. If you’re lucky, it will even sing for you!
- Observe your handiwork, and the magically inherent wisdom of bacteria + gluten + the maillard reaction.

Notes
¹ I like to feed my starter with a mix of rye and whole wheat for flavour and structure, but plain/AP flour is fine.
² This is also when I feed my starter each day. If I’m starting a levain that night, I’ll first measure out the 50 grams I need to use, then feed whatever’s left in the jar.
³ You can actually leave it until the morning of the day after next (i.e. leave it in the fridge for a whole 24 hours longer than the instructions above) if that suits your schedule. I find this gives the dough an even better flavour, and sometimes larger, more irregular holes (if that’s your jam).
⁴ Don’t use synthetic fabric — it will melt. Trust me…

I love this! Thank you so much. I have my starter going (4 days in!) so I will follow this and let you know how I go!
>
LikeLike
Hooray! Can’t wait to see how it goes.
LikeLike